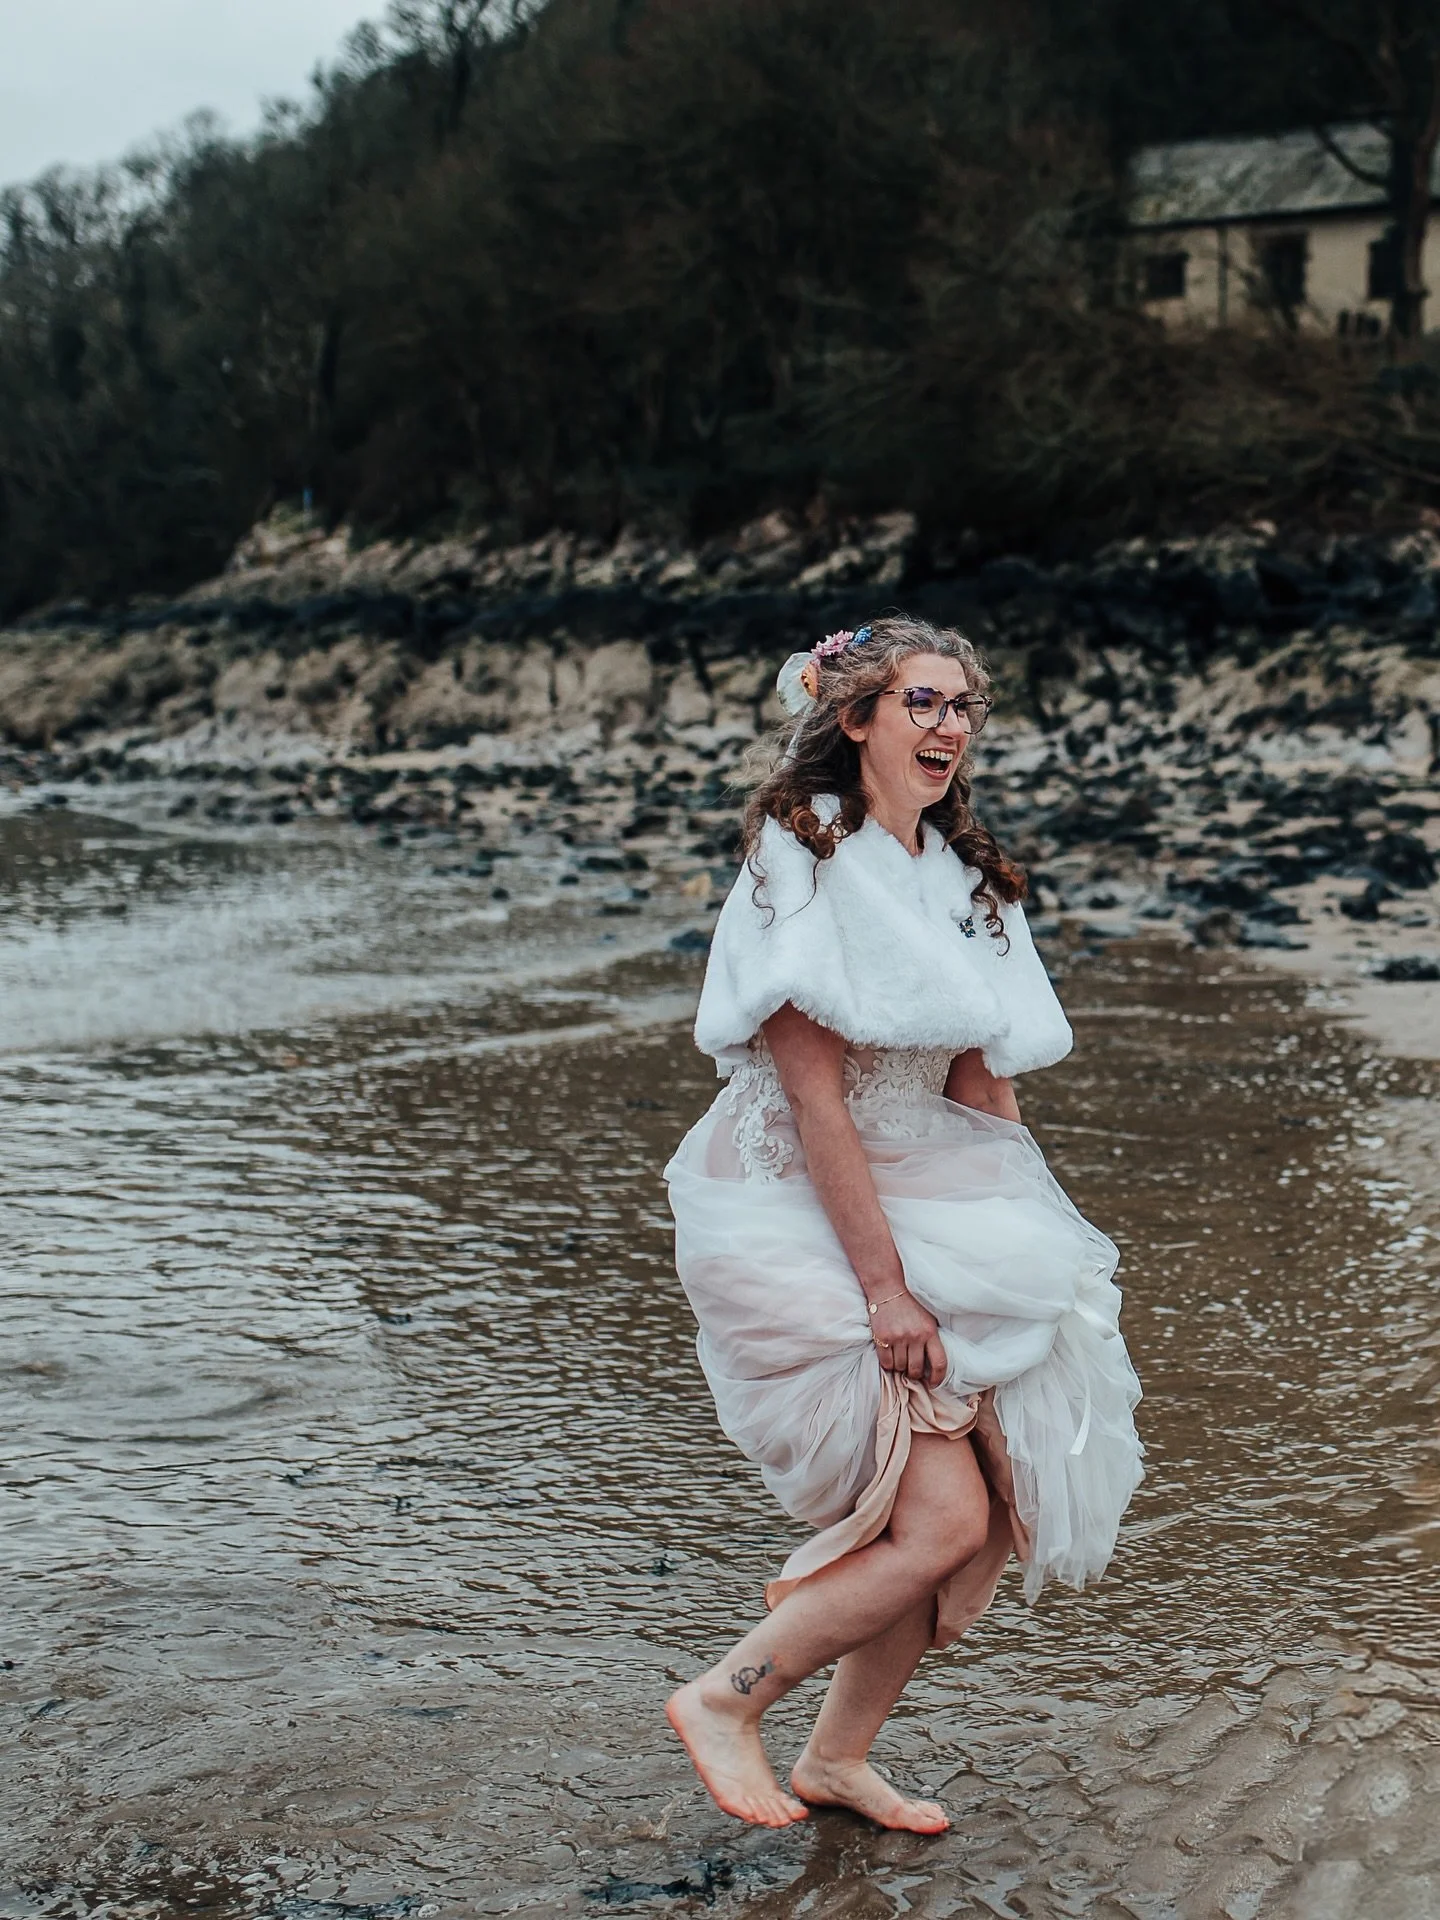
How to Organise your Photos - Advice from a Photographer
If like me you love photography, then you may well have encountered that all too common problem of running out of storage on your computer or phone. If you take a lot of photos then eventually you are going to have to do something with them. If you leave it too late then you will no doubt feel overwhelmed and it’s tempting to just keep putting it off.
I often get asked by people what I do with all the photos I take, how I store them, if I print them etc. So I thought I would put some of my methods for organising and storing my photos into a blog to try and help you get on top of it, and never get overwhelmed or end up with zero storage again.

This blog post contains some affiliate links. It won’t cost you anymore, but it all helps keep the lights on here at our Beautiful Adventure.
Contents:
Culling
First up is culling. It is so important if you ever want to keep on top of the photos you take, that when you upload them onto your computer that you cull the bad ones. And yes you will have bad ones. Even I have bad ones. I use a really great tool called “Photo Mechanic” which makes culling so much easier. If you shoot in raw then you will know all too well how slow it can be to try and scroll through your pictures on your computer, or in lightroom. But photo mechanic loads so quickly, and you can rate each of the photos as you go from 1 to 5, and then select your lowest rated ones to delete.
This also makes editing a much quicker and more enjoyable process as you aren’t spending time on photos you won’t ever do anything with.
If like me you’re indecisive you may find it difficult to pick which ones to delete. I find it helpful to ask if I love the photo? Or if I will want to look back on it at a later date? If it’s a memory or milestone worth documenting? The biggest thing that helps me decide though is knowing I’ll be spending time editing the photo, and so if I know I will never use it or want to look back on it then it can go.
Organising
There are a lot of different ways you could organise your photos, and obviously it’s best to do what works for you. However, I will share what I find works and you can adopt this method if it suits you.
When I upload photos onto my computer I add them to a folder. If they are from a photo shoot or a wedding, then they get put into an individual folder for that client.
If they are personal photos then they either get grouped by event or by date. I have a folder for each month of the year, which the bulk of my personal photos get organised into, but if the photos are from a holiday or a specific event then they may get put into a separate folder.
This makes it really easy for me to find photos later on too. If I know when or where I took them, then I can just look in that folder.
Naming your Files
After I edit my raw photos I export them as jpegs and I re-name them. As well as including “Our Beautiful Adventure” I also add in the location, like the name of the beach or place the photo was taken, and sometimes if the photo is of one of my children I may add in their name too. That way if I am looking for a photo I took at Horton beach for example, but I can’t think when I took it, then I can just search “Horton” and it’s easier to find.
Taking some time to consider what you name your photos once you have edited them is crucial in keeping your photos organised in the long run.
If you don’t edit your photos then you may still find it useful to rename the files to help keep them organised.
Sharing Photos
Obviously as a professional photographer, and someone who enjoys sharing my work on social media, then a large part of sorting through my photos is trying to decide which ones to share online.
The method I have found works for me, and saves time in the long run, is after I have edited the photos I have taken from a particular walk or outing for example, I quickly copy all of the edited photos into a folder named “Sharing” (creative I know) and then I use photo mechanic again to quickly go through them and decide which I would like to share. This means I then have all of my best work in one place to select from when choosing to share online.
A lot of the photos I take I often deem worth keeping, and worth editing, but not always worth sharing. This doesn’t mean they are bad photos or I should have deleted them, there is just a big difference in what I want documented for myself personally (and eventually for my children), and what I am willing to share online.
My Instagram Feed…
Hard Drives
If you are taking a lot of photos and you don’t want to run out of storage space or risk losing everything one day if your computer fails then you need to invest in some decent hard drives.
I use the Transcend Shockproof external hard drives, because having ones that can cope with a drop or a knock was crucial for me. So many reviews I read for other hard drives were from people who had dropped them accidentally and lost all their photos. I wasn’t willing to take that risk, so I find these ones are worth any additional cost.
As a professional photographer I have to use these more than an amateur might, but here is the set up that works for me. I have two 2TB hard drives which have the exact same things on them, and store all of my professional work. I can not afford to lose someones wedding photos, so I take no risks with keeping them on just one hard drive. (I also keep them all on the SD cards until I have delivered the gallery.)
I then have a separate 1TB hard drive that has all of my personal photos backed up on it. Then on another 1TB hard drive I keep a time machine of my Macbook. This is crucial if you want to mitigate the risk of losing everything if your computer should die unexpectedly, and I try to back up onto all of my hard drives at least once a week.
Obviously even though 2TB is very large, I take a lot of photos, and I shoot in RAW so the files are even larger. So periodically I need to clear out older work. I have policies written into my client’s contracts about how long I will store their files, that helps keep my work hard drives organised.
With my personal hard drive, I will often delete the RAW files from folders, and only keep the edited photos. This helps save a lot of space. After a certain amount of time I know I won’t want to go back and re-edit them, so I feel comfortable deleting the raws.
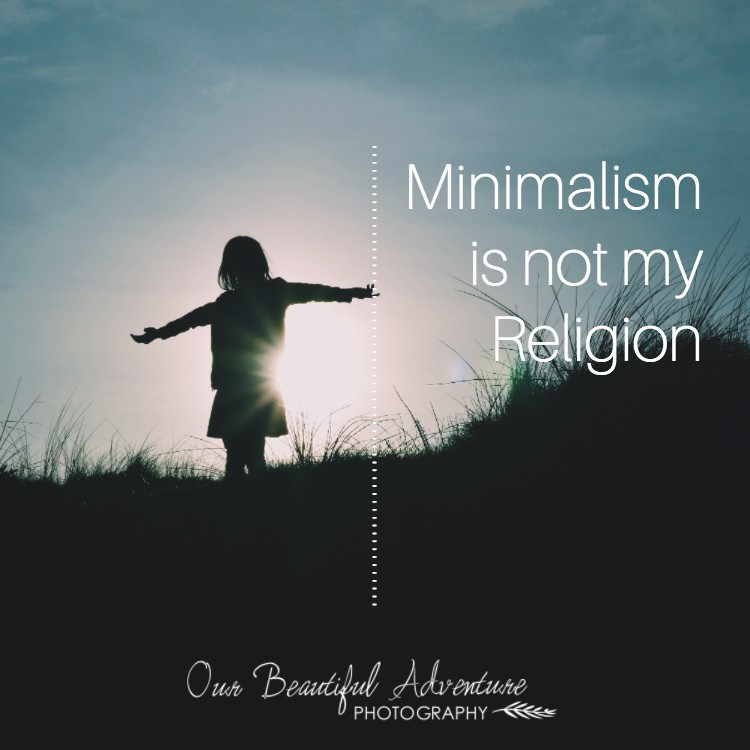
As easy as it might be to think you’ll want to go back to them, I’d rather keep moving forward, and keep taking better photos, rather than trying to improve the old ones. But then I am a minimalist, so I know it might not be as easy for everyone else to move on, but you’ll just need to buy more hard drives!
Cloud Storage
All of the methods I have suggested so far are great ways to keep your photos safe, but it is well worth ensuring you have an extra back up of cloud storage too.
I use Amazon for my cloud storage, as their Prime service (mostly know for the free delivery and TV shows) also offers unlimited photo storage. They keep the photos on my computer backed up automatically, and they also have an app you can install on your phone or tablet to back up all of your photos on there too.
I find it really easy to use, and it is also really easy to find your photos too. As well as being able to search by date you can also type in features like “beach hut” and all the images with a beach hut like structure will show up. A little creepy, but helpful too.
If you want to try it out for free for a month then you can use this link.
Printing your Photos
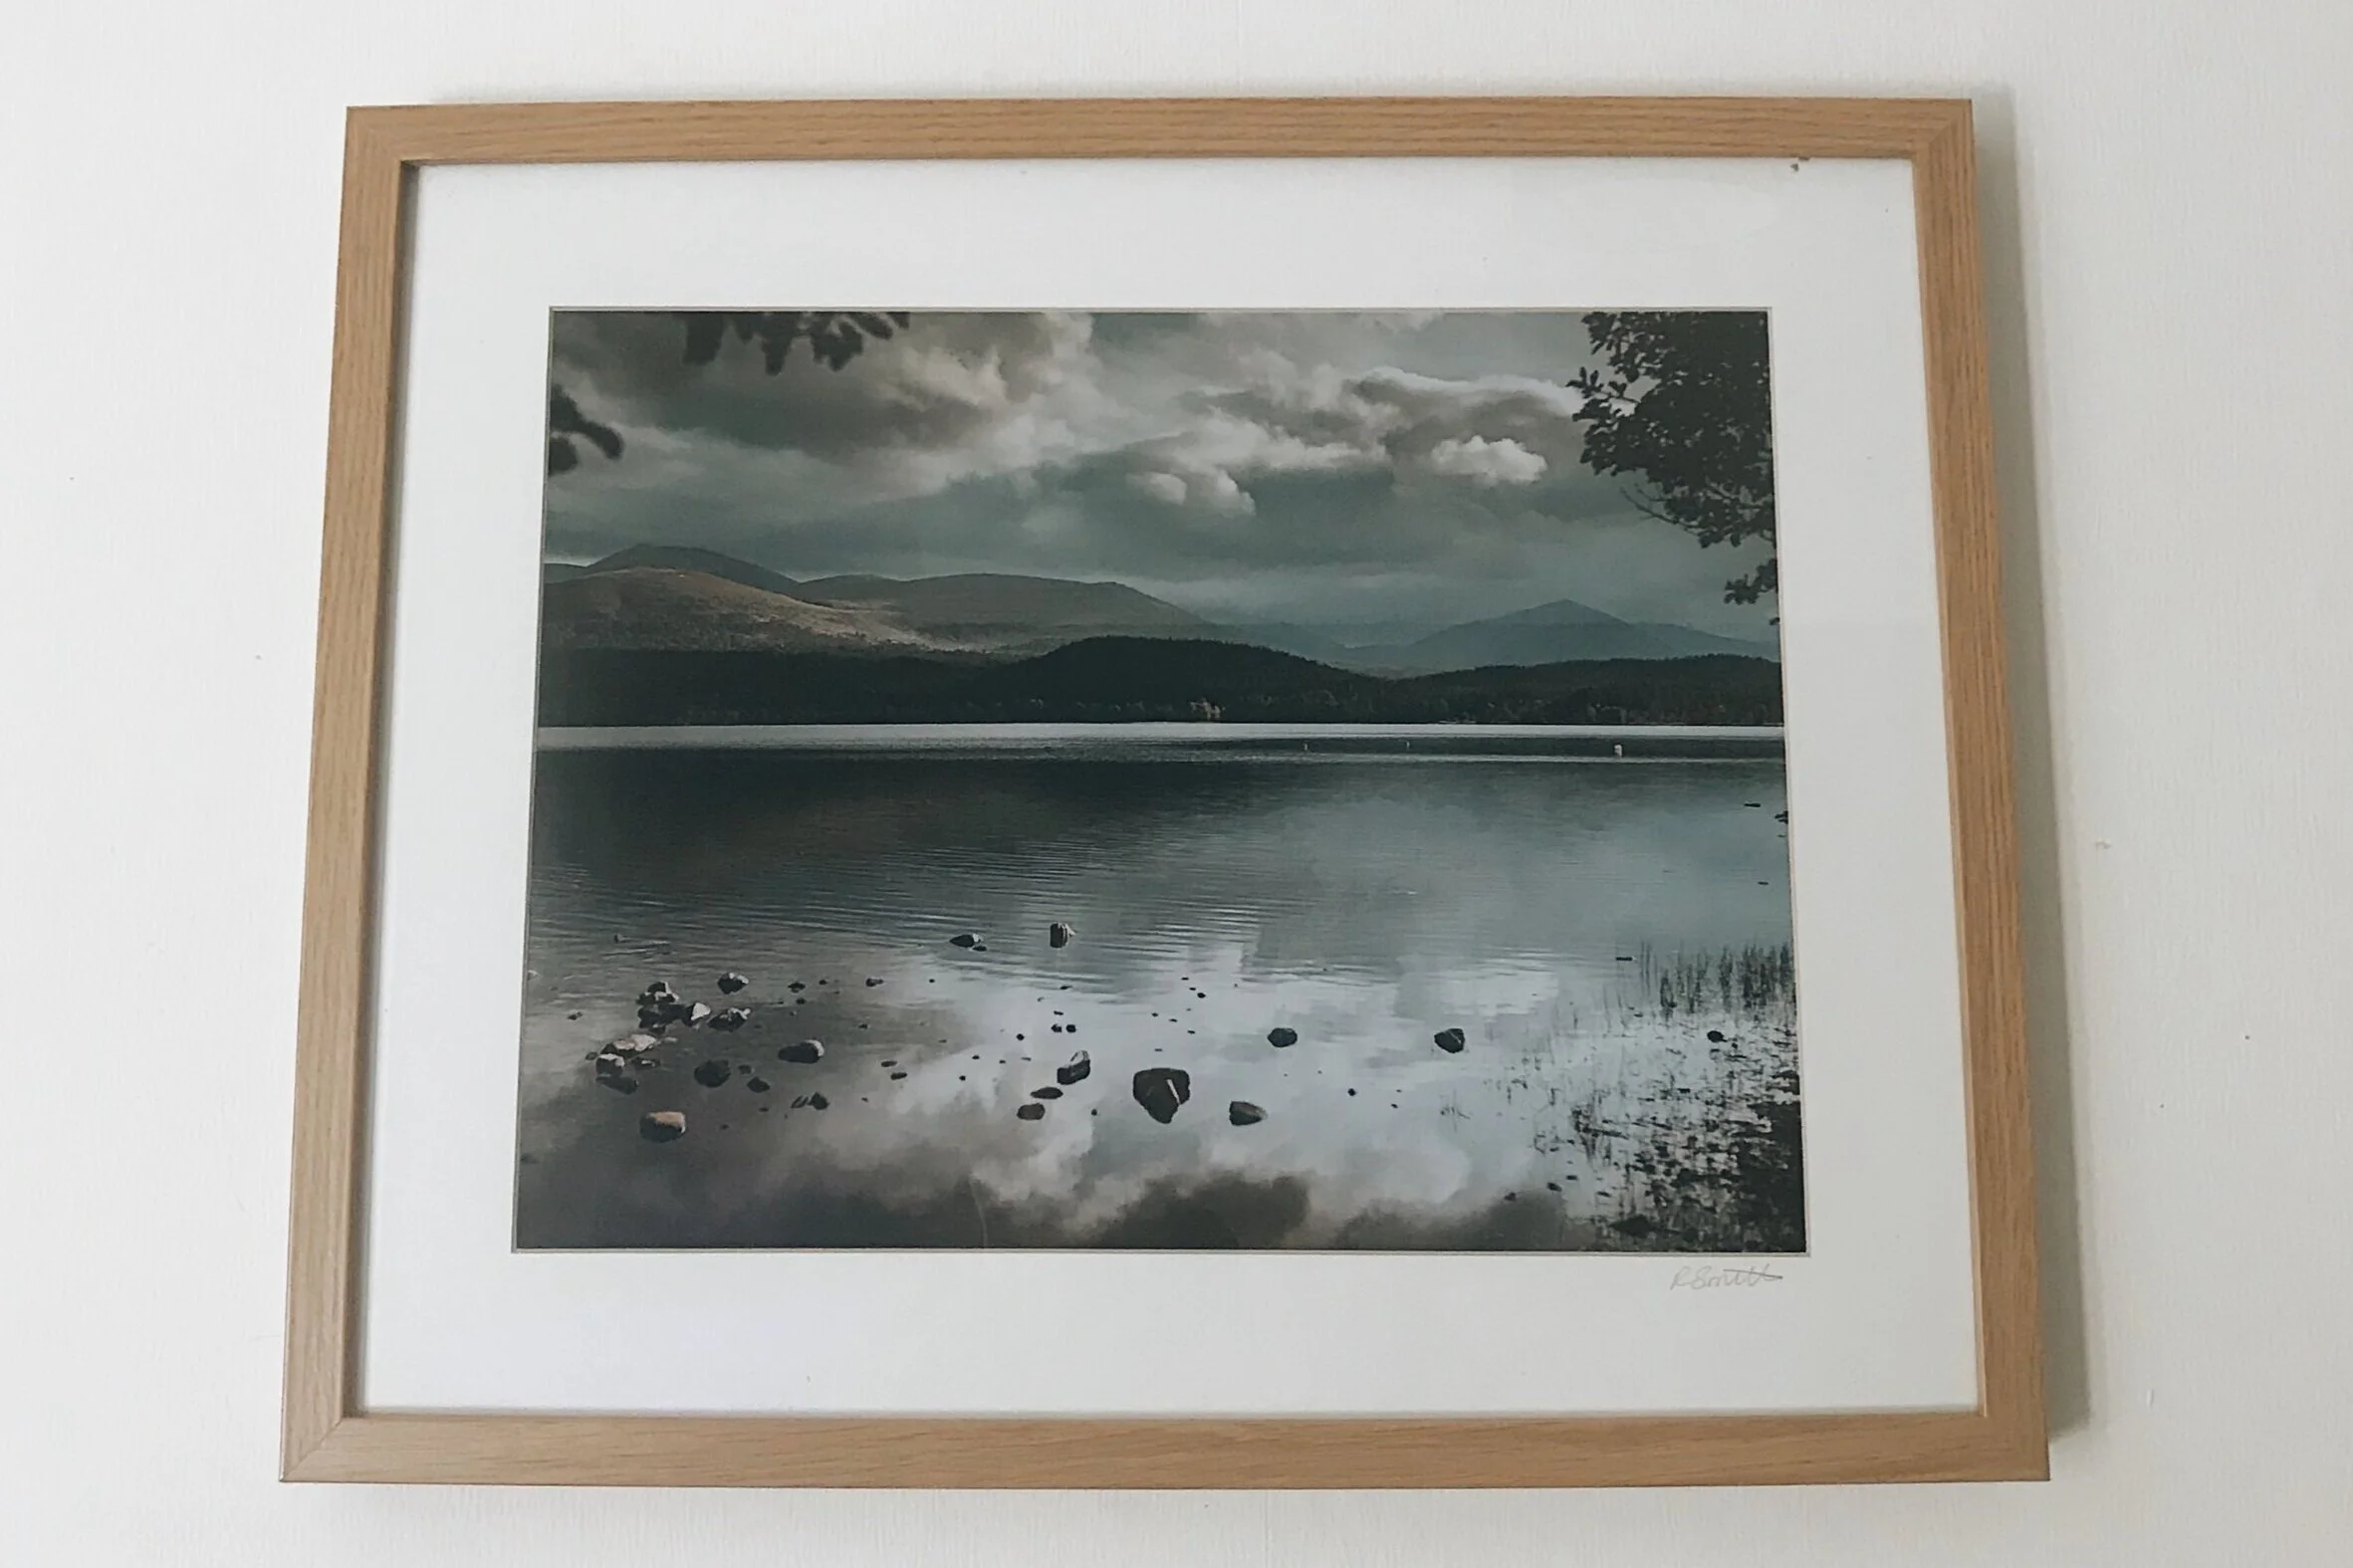
I can not stress enough how important it is to print your photographs. Did you know there are actually studies that show children’s confidence is boosted by seeing photos of them on the walls? It’s why all of my Family Photo Shoots come with prints included in the price, as I want you to have beautiful photos of your family to display proudly around your home. It is also why I make sure each year that I select some of my favourite portraits of my children and update my wall art accordingly, and I make sure I print a Photo Book compiling our favourite moments throughout the year too. I also try to print some of my favourite landscape photos to hang on my wall too, so I can be reminded of my favourite places and happy memories.
When it comes to the photo books I have made, I have tried a lot of different companies ove the years, but I have finally found a winner; Chatbooks. They tick all of the boxes for me, and it is both user friendly and amazing quality. They are actually an American company, but I have yet to find a UK company that makes photo books so easy to make. With Chatbooks you can sync your social media accounts to automatically upload the photos, as well as uploading directly. You can either set up a recurring photo book order that prints automatically every few months with your recent photos on facebook and instagram, or you can make custom photo books. This is the option I choose.
As a minimalist I don’t want my house full of hundreds of photo albums, but as a Mother I do want a printed record of our family life. So I now order one Chatbook a year, which has all of the highlights from that year compiled into one book. It forces me to choose only my favourite moments, and the best photos, and means we can remember the birthdays and holidays, but also all of the small moments in between.
Another great thing about Chatbooks is that if you aren’t happy with the quality of your photo book for any reason, they’ll print you another one at no extra cost, and all the photo books you have ordered in the past are all stored online, so should one get damaged or lost for any reason, you can simply re-order the photo books. No more worrying about losing all those priceless photographs!
If you want to give them a try you can use my referral link to get 15 dollars off your first order.
Mobile Phone Photos
I’ll be honest, I don’t take that many photos on my phone, so I’m probably not the best person to help with this one. But as I mentioned earlier, I use Amazon prime’s unlimited photo storage option to back up my photos online. They also have an app you can install on your phone which backs up your photos automatically, and means I don’t have to worry should something happen or if you need to delete some older photos to free up space.
I do try to remember to transfer any photos I particularly love to my Macbook so that they can get added to the folders I have organised there. That way they don’t get left out when I’m getting my photo books printed, or choosing ones to share with my family.
I hope you have found this blog post helpful, and you have learnt a few new ways to keep your photos organised and safely stored. Please do feel free to use the comments section below to ask any questions, or to share your top tips with me.
If you want to see more of my favourite photography gear then I’ve complied some favourite products over on my amazon store.